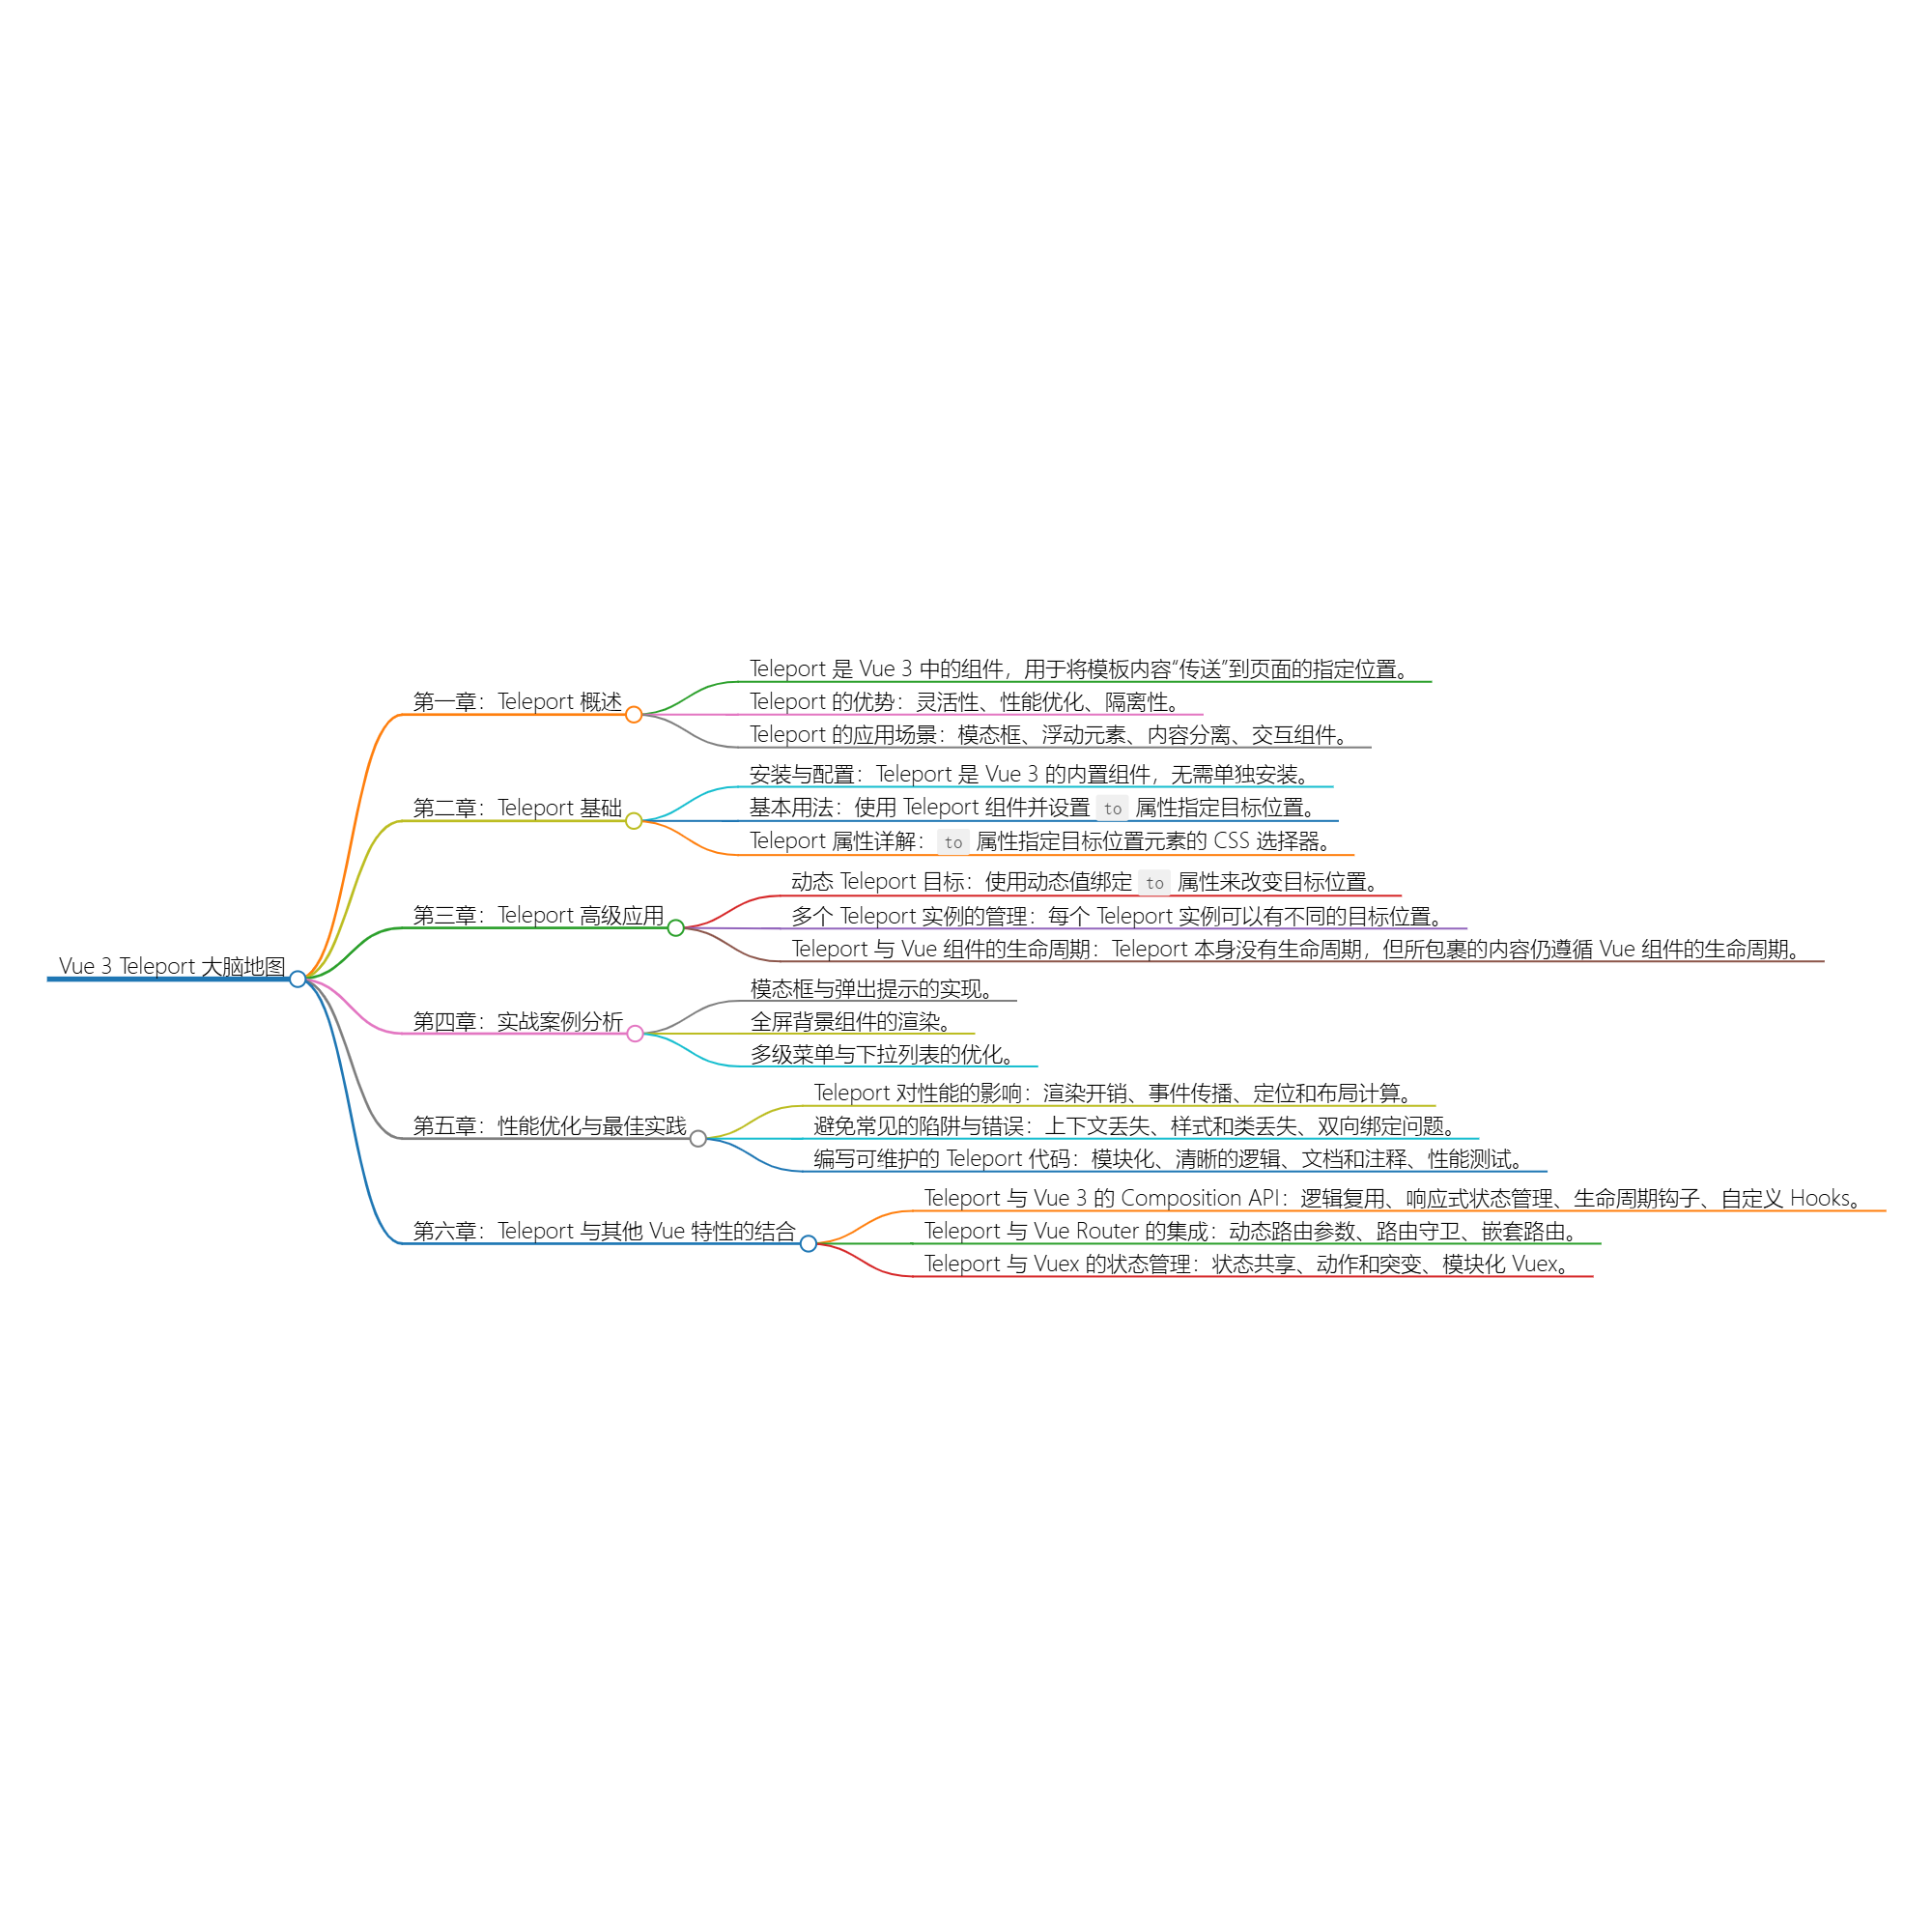
title: Vue 3 Teleport:掌控渲染的艺术
date: 2024/6/5
updated: 2024/6/5
description:
这篇文章介绍了Vue3框架中的一个创新特性——Teleport,它允许开发者将组件内容投送到文档对象模型(DOM)中的任意位置,即使这个位置在组件的挂载点之外。Teleport旨在解决某些特定场景下的布局和嵌套问题,如 modal 对话框、弹出框或注入全局头部等。通过使用Teleport,可以更灵活地管理这些特殊组件,同时保持应用程序结构的清晰。文章可能会详细讲解Teleport的工作原理、使用方法及其对应用性能和测试的影响。
categories:
tags:
Teleport 是 Vue 3 中的一个内置组件,它允许你将组件的模板内容“传送”到页面的指定位置,而不受常规的组件渲染树的限制。这个概念类似于服务器端渲染(SSR)中的内容替换,但是在客户端渲染环境中实现。使用 Teleport,你可以将用户界面的一部分内容渲染到页面的任意位置,而无需改变组件的结构或打破封装性。
在传统的Vue组件渲染中,组件的模板内容通常直接插入到组件的父元素中。这意味着组件的子元素会遵循DOM结构的层次,从上到下依次渲染。而Teleport允许你忽略这个层次,将组件的渲染位置独立出来,可以将其渲染到页面上的任何地方,就像是在那个位置直接编写HTML一样。
优势:
应用场景:
通过Teleport,Vue 3开发者可以更加精细地控制组件的渲染位置,创造出更加丰富和动态的用户体验。下一章将详细介绍如何使用Teleport,以及它的基本用法。
归档 | cmdragon's Blog
由于Teleport是Vue 3的内置组件,因此你不需要单独安装它。在使用Vue 3创建项目时,Teleport就已经可用。如果你是在现有的Vue 3项目中使用Teleport,确保你的项目版本是2.6及以上,因为Teleport是在这个版本中引入的。
要在你的Vue 3组件中使用Teleport,你需要首先导入Teleport组件,然后像使用其他任何Vue组件一样使用它。下面是一个基本的Teleport用法示例:
<template>
  <div>
    <!-- 正常渲染的按钮 -->
    <button @click="showModal = true">打开模态框</button>

    <!-- Teleport组件,将模态框内容渲染到body标签下 -->
    <teleport to="body">
      <div v-if="showModal" class="modal">
        <!-- 模态框内容 -->
        <p>这是一个模态框</p>
        <button @click="showModal = false">关闭</button>
      </div>
    </teleport>
  </div>
</template>

<script>
export default {
  data() {
    return {
      showModal: false
    };
  }
};
</script>

<style>
.modal {
  position: fixed;
  top: 50%;
  left: 50%;
  transform: translate(-50%, -50%);
  background-color: white;
  padding: 20px;
  border: 1px solid black;
}
</style>
复制
在这个例子中,当用户点击按钮时,模态框会被渲染到body标签下,而不是嵌套在当前组件的DOM结构中。
Teleport组件有一个唯一的属性to,它接受一个CSS选择器,表示目标位置的元素。目前Teleport只支持渲染到同一个文档中的元素,不支持跨文档的渲染。
<teleport to="selector">
  <!-- 渲染的内容 -->
</teleport>
复制除了to属性外,Teleport还可以接受所有Vue组件通用的属性,如class、style、id等,这些属性会被应用到Teleport渲染的内容上。
AD:漫画首页
在某些情况下,你可能需要根据运行时的条件动态决定Teleport的目标位置。这可以通过在to属性中绑定一个动态的值来实现。例如:
<template>
  <div>
    <button @click="changeTarget">改变目标位置</button>

    <teleport :to="target">
      <div class="modal">
        <p>这是一个动态目标的模态框</p>
      </div>
    </teleport>
  </div>
</template>

<script>
export default {
  data() {
    return {
      target: 'body'
    };
  },
  methods: {
    changeTarget() {
      this.target = '#someOtherElement'; // 改变目标位置
    }
  }
};
</script>
复制在这个例子中,点击按钮会改变模态框的目标位置。注意,target属性被绑定到了一个响应式数据上,这样当数据变化时,Teleport的目标位置也会相应地更新。
在同一个组件中使用多个Teleport实例时,每个实例可以有不同的目标位置。Vue会确保每个Teleport实例的内容被正确地渲染到指定的目标位置。例如:
<template>
  <div>
    <teleport to="#modal1">
      <div class="modal">模态框1</div>
    </teleport>

    <teleport to="#modal2">
      <div class="modal">模态框2</div>
    </teleport>
  </div>
</template>
复制
在这个例子中,两个Teleport实例分别将内容渲染到不同的目标位置。
Teleport组件本身不具有生命周期钩子,但是它所包裹的内容仍然是Vue组件的一部分,因此这些内容会遵循Vue组件的生命周期。这意味着,如果你在Teleport内部使用了组件,那么这些组件的生命周期钩子(如created、mounted、updated等)仍然会被调用。
例如:
<template>
  <div>
    <teleport to="body">
      <my-component v-if="showComponent" />
    </teleport>
  </div>
</template>

<script>
import MyComponent from './MyComponent.vue';

export default {
  components: {
    MyComponent
  },
  data() {
    return {
      showComponent: true
    };
  }
};
</script>
复制在这个例子中,MyComponent组件的生命周期钩子会在组件被渲染时正常调用,即使它被Teleport渲染到了不同的DOM位置。
模态框和弹出提示是常见的UI组件,通常需要从当前内容中“弹出”并覆盖在其他内容之上。使用Teleport可以轻松实现这一效果。
<template>
  <div>
    <button @click="showModal = true">打开模态框</button>

    <teleport to="body">
      <div v-if="showModal" class="modal" @click.self="showModal = false">
        <div class="modal-content">
          <p>这是一个模态框</p>
          <button @click="showModal = false">关闭</button>
        </div>
      </div>
    </teleport>
  </div>
</template>

<script>
export default {
  data() {
    return {
      showModal: false
    };
  }
};
</script>

<style>
.modal {
  position: fixed;
  top: 0;
  left: 0;
  width: 100%;
  height: 100%;
  background-color: rgba(0, 0, 0, 0.5);
  display: flex;
  justify-content: center;
  align-items: center;
}

.modal-content {
  background: white;
  padding: 20px;
  border-radius: 5px;
  width: 300px;
}
</style>
复制在这个例子中,模态框的内容被Teleport到body元素下,确保它能够覆盖在页面上的其他内容之上。
AD:专业搜索引擎
<template>
  <div>
    <button @click="showToast = true">显示提示</button>

    <teleport to="body">
      <div v-if="showToast" class="toast" @click="showToast = false">
        <p>这是一个弹出提示</p>
      </div>
    </teleport>
  </div>
</template>

<script>
export default {
  data() {
    return {
      showToast: false
    };
  }
};
</script>

<style>
.toast {
  position: fixed;
  top: 20px;
  right: 20px;
  background: #333;
  color: white;
  padding: 10px 20px;
  border-radius: 5px;
}
</style>
复制
弹出提示的实现与模态框类似,只是样式和交互逻辑有所不同。
有时候,我们可能需要将组件渲染到全屏背景中,例如全屏的加载动画或背景图片。使用Teleport可以轻松实现这一效果。
<template>
  <div>
    <button @click="showFullscreen = true">显示全屏背景</button>

    <teleport to="body">
      <div v-if="showFullscreen" class="fullscreen-bg">
        <p>这是一个全屏背景组件</p>
      </div>
    </teleport>
  </div>
</template>

<script>
export default {
  data() {
    return {
      showFullscreen: false
    };
  }
};
</script>

<style>
.fullscreen-bg {
  position: fixed;
  top: 0;
  left: 0;
  width: 100%;
  height: 100%;
  background: url('path/to/background.jpg') no-repeat center center fixed;
  background-size: cover;
  display: flex;
  justify-content: center;
  align-items: center;
  color: white;
  font-size: 24px;
}
</style>
复制在这个例子中,全屏背景组件被Teleport到body元素下,确保它能够覆盖整个视口。
多级菜单和下拉列表通常需要在鼠标悬停或点击时显示子菜单或下拉选项。使用Teleport可以优化这些组件的渲染,确保它们在正确的位置显示。
<template>
  <div>
    <ul class="menu">
      <li @mouseenter="showSubmenu = true" @mouseleave="showSubmenu = false">
        菜单项
        <teleport to="body" v-if="showSubmenu">
          <ul class="submenu">
            <li>子菜单项1</li>
            <li>子菜单项2</li>
          </ul>
        </teleport>
      </li>
    </ul>
  </div>
</template>

<script>
export default {
  data() {
    return {
      showSubmenu: false
    };
  }
};
</script>

<style>
.menu,
.submenu {
  list-style-type: none;
  padding: 0;
  margin: 0;
}

.submenu {
  position: absolute;
  background: white;
  border: 1px solid #ccc;
  padding: 10px;
}
</style>
复制在这个例子中,子菜单被Teleport到body元素下,确保它在鼠标悬停时正确显示。
<template>
  <div>
    <div @click="showOptions = !showOptions">
      点击显示下拉选项
      <teleport to="body" v-if="showOptions">
        <ul class="dropdown-options">
          <li>选项1</li>
          <li>选项2</li>
        </ul>
      </teleport>
    </div>
  </div>
</template>

<script>
export default {
  data() {
    return {
      showOptions: false
    };
  }
};
</script>

<style>
.dropdown-options {
  position: absolute;
  background: white;
  border: 1px solid #ccc;
  padding: 10px;
  list-style-type: none;
  padding: 0;
  margin: 0;
}
</style>
复制在这个例子中,下拉选项被Teleport到body元素下,确保它在点击时正确显示。
Teleport 是一个用于将组件内容移动到 DOM 树其他位置的 Vue 3 功能。虽然它提供了极大的灵活性,但也有可能对性能产生一定影响。以下是一些性能方面的考虑因素:
为了减少潜在的性能影响,可以采取以下措施:
在使用 Teleport 时,可能会遇到一些陷阱和错误,以下是一些需要注意的地方:
为了避免这些陷阱,应该:
为了确保Teleport代码的可维护性,可以遵循以下最佳实践:
Vue 3的Composition API提供了一种更灵活的方式来组织组件的逻辑。当与Teleport结合使用时,可以创建更复杂和功能丰富的组件。以下是如何结合使用Teleport和Composition API的一些建议:。AD:首页 | 一个覆盖广泛主题工具的高效在线平台
setup()函数来集中处理Teleport的逻辑,如条件渲染、事件处理等。这有助于提高代码的可读性和维护性。setup()函数中定义响应式数据,并确保这些数据在Teleport的组件中正确地更新和渲染。onMounted、onUpdated等)来管理Teleport组件的生命周期事件。示例代码:
import { ref, onMounted } from 'vue';

export default {
  setup() {
    const isOpen = ref(false);

    const toggle = () => {
      isOpen.value = !isOpen.value;
    };

    onMounted(() => {
      // 在组件挂载后执行的逻辑
    });

    return {
      isOpen,
      toggle
    };
  }
}

复制Teleport可以与Vue Router集成,用于创建如模态框、通知等需要在页面不同位置显示的组件。以下是一些集成Teleport和Vue Router的策略:
示例代码:
// 在路由配置中
{
  path: '/profile',
  component: Profile,
  children: [
    {
      path: 'notifications',
      component: Notifications,
      meta: {
        showTeleport: true
      }
    }
  ]
}

复制Teleport可以与Vuex结合,用于管理跨组件的状态。以下是如何结合Teleport和Vuex的一些建议:
示例代码:
// Vuex store
const store = createStore({
  state: {
    isModalOpen: false
  },
  mutations: {
    toggleModal(state) {
      state.isModalOpen = !state.isModalOpen;
    }
  },
  actions: {
    openModal({ commit }) {
      commit('toggleModal');
    }
  }
});

复制
通过结合Teleport与其他Vue特性,如Composition API、Vue Router和Vuex,可以创建出功能强大且易于维护的应用程序。在下一章中,我们将探讨如何测试和调试使用Teleport的组件,确保其稳定性和性能。