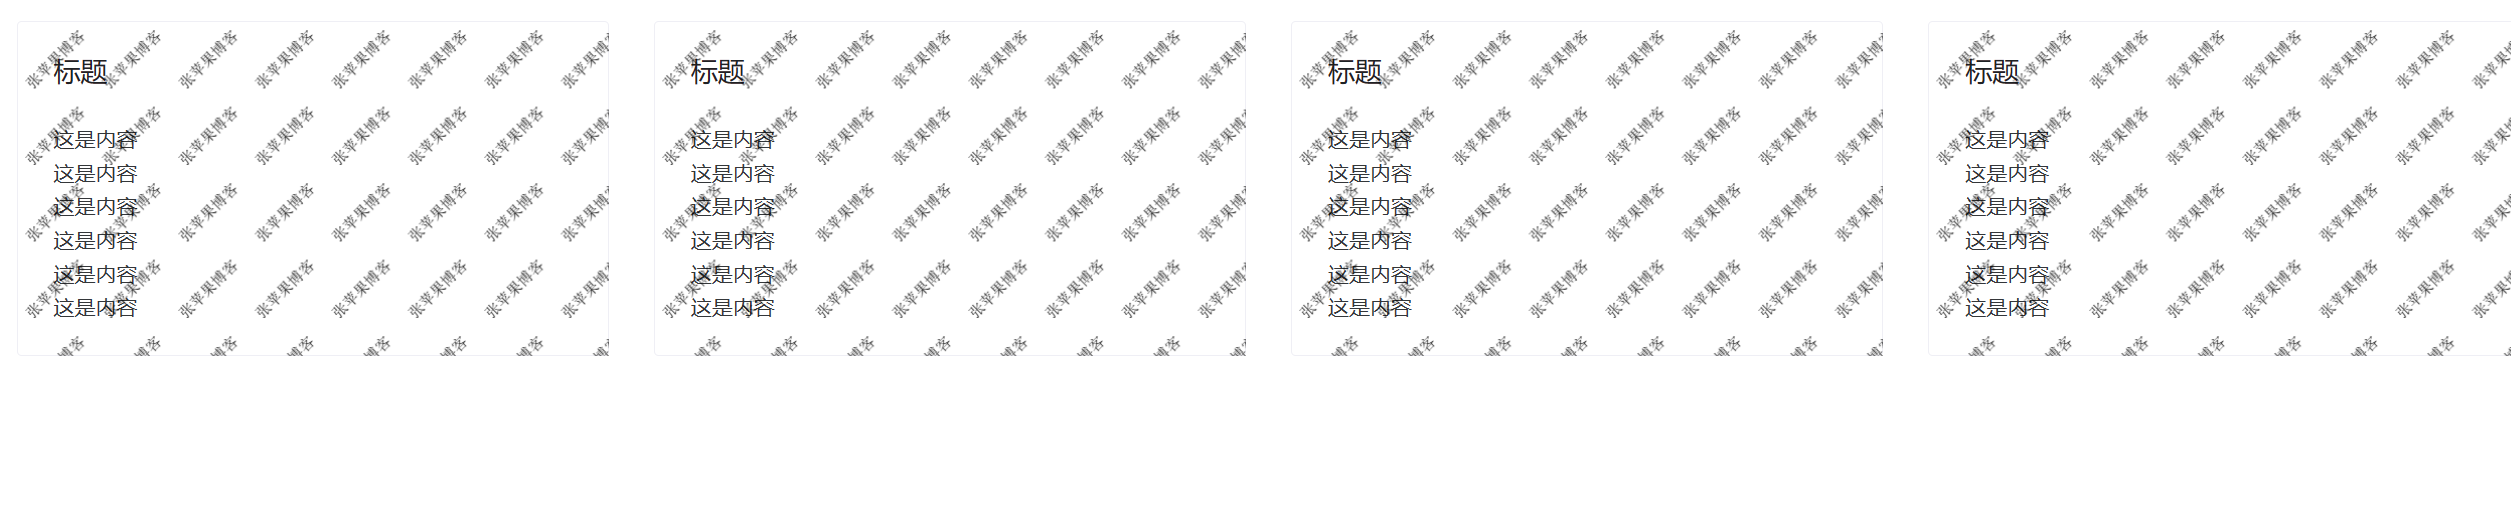
基于Vue 3的全新水印通用组件。这款组件不仅功能强大,而且易于集成,能够轻松为您的网页或应用添加自定义水印,有效防止内容被篡改或盗用。
在线查看效果: 原文可查看效果地址
<template>
   <div ref="watermarkContainerRef" class="watermark-container">
      <!--  插槽-->
     <slot></slot>
   </div>
</template>

<script setup>
import { ref, onMounted, watchEffect, onUnmounted, computed } from "vue";
// 使用 defineProps 定义一个组件的 props,这些 props 描述了组件从父组件接收的属性
const props = defineProps({
  // 文本内容,类型为字符串,必须提供,默认值为'张苹果博客'
  text: {
    type: String,
    required: true,
    default: '张苹果博客'
  },
  // 字体大小,类型为数字,默认值为10
  fontSize: {
    type: Number,
    default: 10,
  },
  // 间距,类型为数字,默认值为1
  gap: {
    type: Number,
    default: 1,
  },
  // 颜色,类型为字符串,默认值为'rgba(82,75,75,0.58)'
  color: {
    type: String,
    default: 'rgba(82,75,75,0.58)',
  }
});

// 定义一个用于绘制水印的函数,这里可以封装一下单独引入。
// 它是一个计算属性,意味着它的值会根据其依赖的 props 的变化而自动重新计算
const waterMarkBg = (props) => {
  return computed(() => {
    // 创建一个新的 canvas 元素
    const canvas = document.createElement("canvas");
    // 获取设备的像素比,如果未定义则默认为1
    const devicePixelRatio = window.devicePixelRatio || 1;
    // 根据像素比计算字体大小
    const fontSize = props.fontSize * devicePixelRatio;
    // 设置字体样式
    const font = fontSize + "px serif";
    // 获取 canvas 的 2D 渲染上下文
    const ctx = canvas.getContext("2d");
    // 设置字体
    ctx.font = font;
    // 测量文本的宽度
    const { width } = ctx.measureText(props.text);
    // 计算 canvas 的大小,至少为 60,并根据文本宽度和间距因子进行调整
    const canvasSize = Math.max(60, width) * props.gap + devicePixelRatio;
    // 设置 canvas 的宽高
    canvas.width = canvasSize;
    canvas.height = canvasSize;
    // 将 canvas 的原点移动到中心
    ctx.translate(canvas.width / 2, canvas.height / 2);
    // 旋转 canvas 45 度
    ctx.rotate((Math.PI / 180) * -45);
    // 设置填充颜色
    ctx.fillStyle = props.color;
    // 设置文本对齐方式和基线
    ctx.textAlign = "center";
    ctx.textBaseline = "middle";
    // 再次设置字体
    ctx.font = font;

    // 在 canvas 上填充文本
    ctx.fillText(props.text, 0, 0);

    // 返回一个对象,包含 base64 编码的图片数据、canvas 的大小和样式尺寸
    return {
      base64: canvas.toDataURL(),
      size: canvasSize,
      styleSize: canvasSize / devicePixelRatio
    };
  });
};

// 用于存储 MutationObserver 的变量
let ob;
// 用于存储水印 div 的变量
let div;
// 调用 waterMarkBg 函数获取水印相关的计算属性
const bg = waterMarkBg(props);
// 创建一个 ref 用于存储水印容器的 DOM 引用
const watermarkContainerRef = ref('');
// 创建一个 ref 用于标记水印是否需要重新生成
const flag = ref(0);

// 在组件挂载后执行
onMounted(() => {
  // 创建一个新的 MutationObserver,用于监听水印容器的变化
  ob = new MutationObserver((records) => {
    // 遍历所有的变化记录
    for (const record of records) {
      // 遍历所有被移除的节点
      for (const dom of record.removedNodes) {
        // 如果被移除的节点是水印 div,则更新 flag 的值并返回
        if (dom === div) {
          flag.value++;
          return;
        }
      }
      // 如果变化的节点就是水印 div,则更新 flag 的值并返回
      if (record.target === div) {
        flag.value++;
        return;
      }
    }
  });
  // 包括子节点的变化、属性的变化以及子树的变化
  ob.observe(watermarkContainerRef.value,{
    childList:true,
    attributes:true,
    subtree:true
  });
})

//卸载
onUnmounted(()=>{
  ob && ob.disconnect();
  div=null;
})

// 生成水印
watchEffect(() => {
  // 触发 watchEffect 的重新执行
  flag.value;
  // 如果水印容器没有值,则直接返回,不执行后续操作
  if (!watermarkContainerRef.value) {
    return;
  }
  // 如果之前已经存在水印 div,则先移除它
  if (div) {
    div.remove();
  }
  // 创建一个新的 div 元素用于作为水印的容器
  div = document.createElement('div');
  // 从计算属性 bg 中获取 base64 编码的图片数据和样式尺寸
  const { base64, styleSize } = bg.value;
  // 设置 div 的背景图片为水印图片的 base64 编码
  div.style.backgroundImage = `url(${base64})`;
  // 设置背景图片的尺寸
  div.style.backgroundSize = `${styleSize}px ${styleSize}px`;
  // 设置背景图片重复显示
  div.style.backgroundRepeat = "repeat";
  // 设置水印 div 的 z-index 为 9999,以确保它显示在大多数其他元素之上
  div.style.zIndex = 9999;
  // 设置水印 div 不响应鼠标事件,如点击、悬停等
  div.style.pointerEvents = "none";
  // 设置水印 div 的位置为绝对定位
  div.style.position = "absolute";
  // 使用 inset 属性设置 div 占据整个父容器的空间
  div.style.inset = "0";
  // 将水印 div 添加到水印容器中
  watermarkContainerRef.value.appendChild(div);
});


</script>

<style scoped>
.watermark-container{
  position: relative;
}

</style>
<template>
 <div>
   <n-grid>
     <n-gi style="margin: 15px"   span="6 1025:2  "  v-for="(item,index) in 4" :key="index">
<!--       引入 Watermark-->
         <Watermark :gap="gap" :text="text" :fontSize="fontSize" :color="color">
           <n-card
               v-motion-pop-visible-once
              title="标题"
               hoverable
           >
            这是内容 <br>
            这是内容 <br>
            这是内容 <br>
            这是内容 <br>
            这是内容 <br>
            这是内容 <br>
           </n-card>
         </Watermark>

     </n-gi>
   </n-grid>

 </div>
</template>

<script setup>
import Watermark from '../components/Watermark.vue'
import {ref} from "vue";
const text=ref('张苹果博客');
const gap=ref(1);
const fontSize=ref('10');
const color=ref('');
</script>

<style scoped>

</style>