这里分类和汇总了欣宸的全部原创(含配套源码):https://github.com/zq2599/blog_demos
docker network create elastic复制
docker run \ --name es01 \ --net elastic \ -p 9200:9200 \ -e ES_JAVA_OPTS="-Xms1024m -Xmx1024m" \ -idt elasticsearch:8.2.2复制
docker exec -it es01 /bin/bash复制
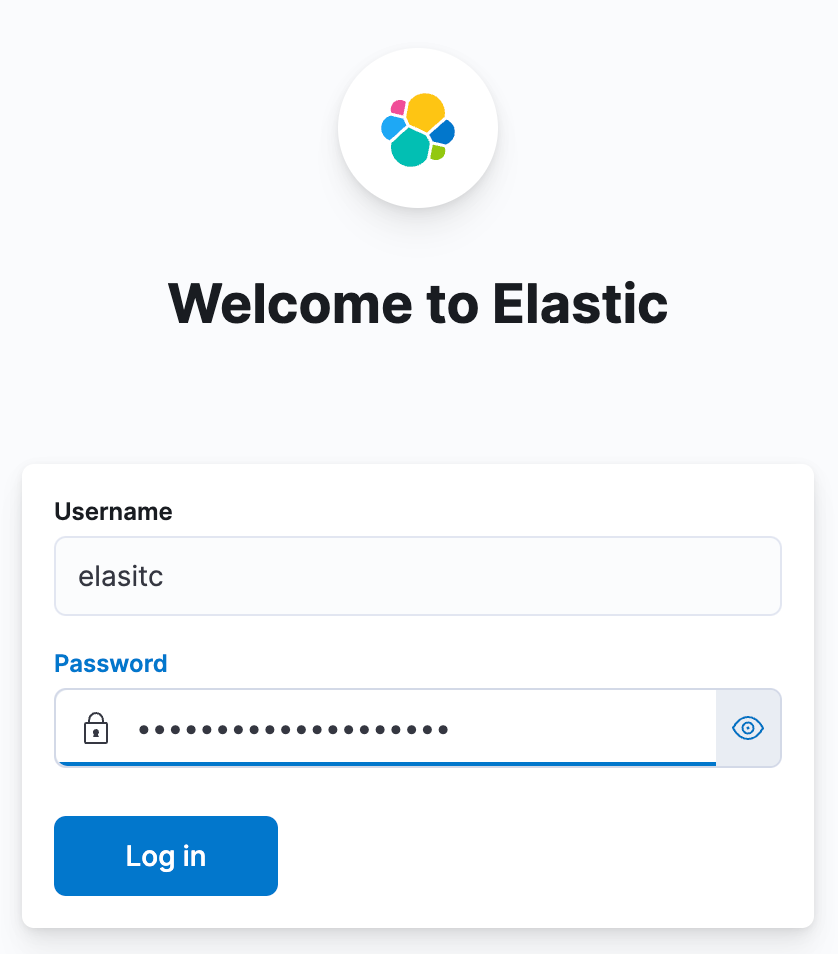
bin/elasticsearch-reset-password -u elastic复制
Password for the [elastic] user successfully reset. New value: 3_J35UWr2sIUkyxxxxxx复制
docker run \ --name kibana \ --net elastic \ -p 5601:5601 \ -idt kibana:8.2.2复制
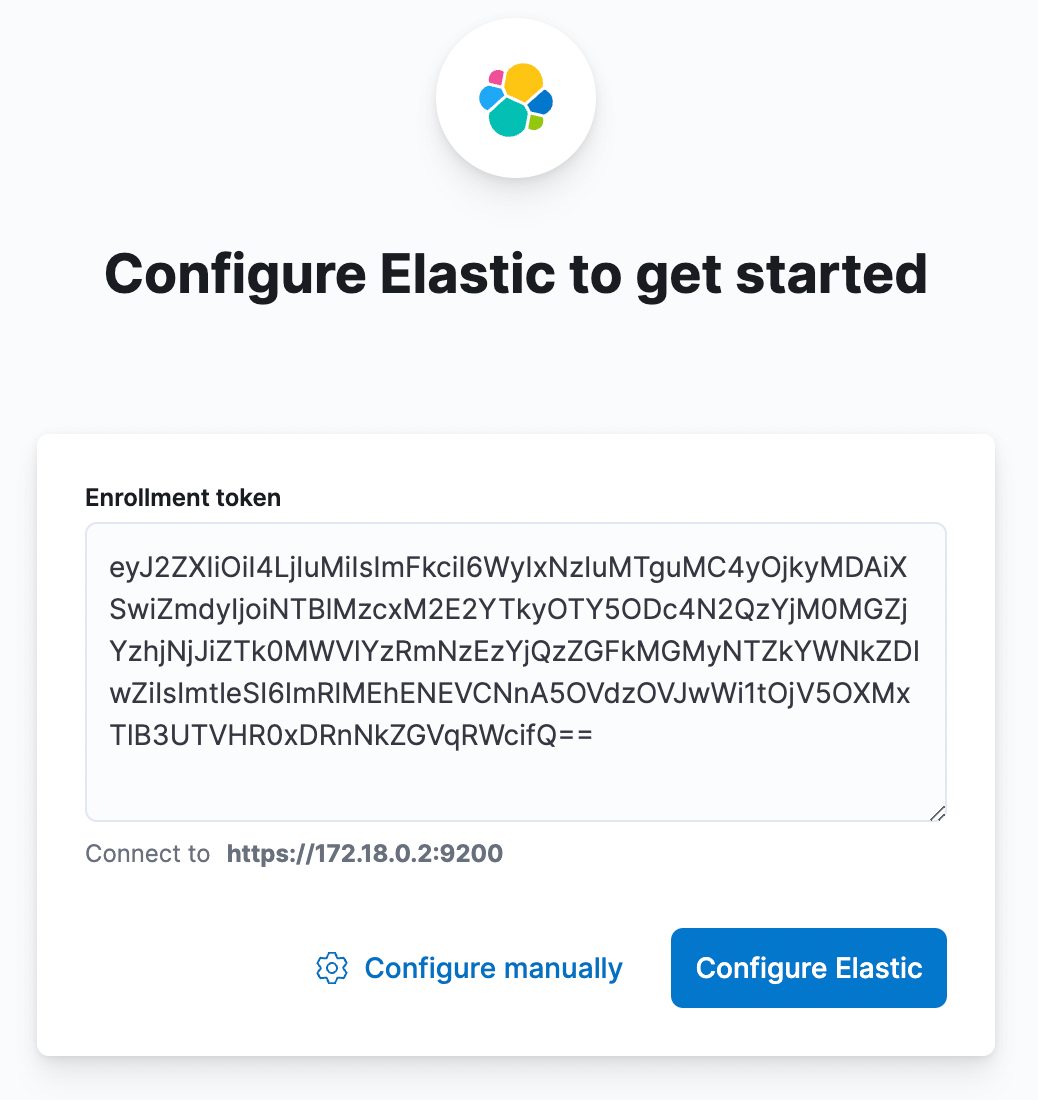
docker exec -it es01 /usr/share/elasticsearch/bin/elasticsearch-create-enrollment-token -s kibana复制
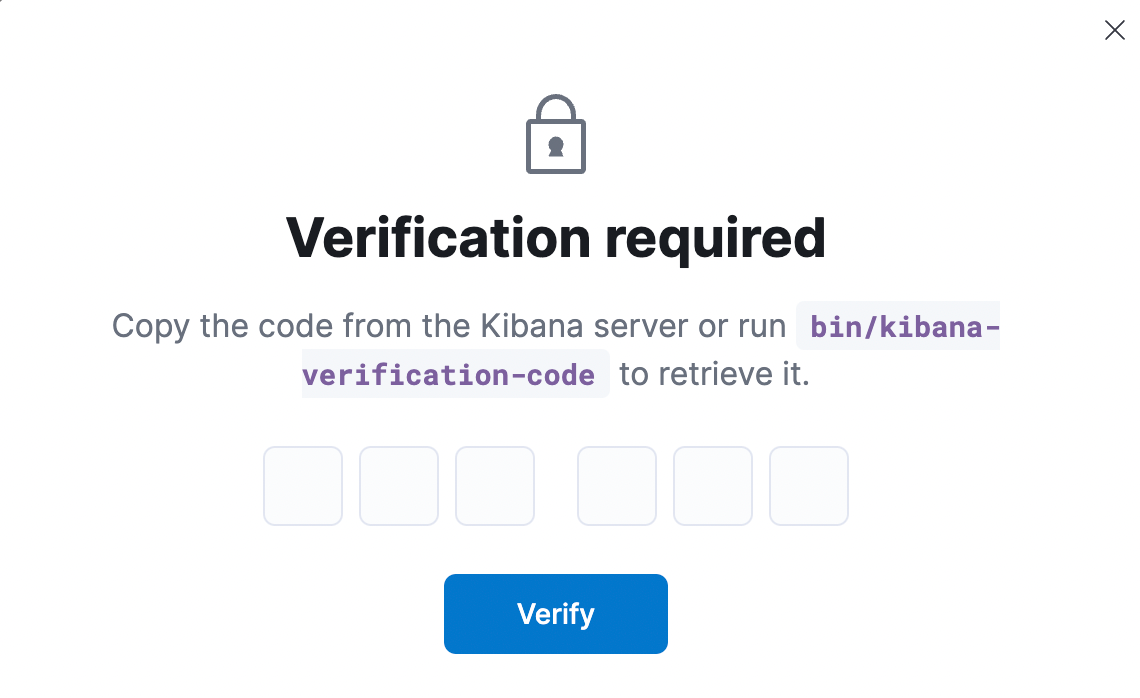
docker exec -it kibana bin/kibana-verification-code复制

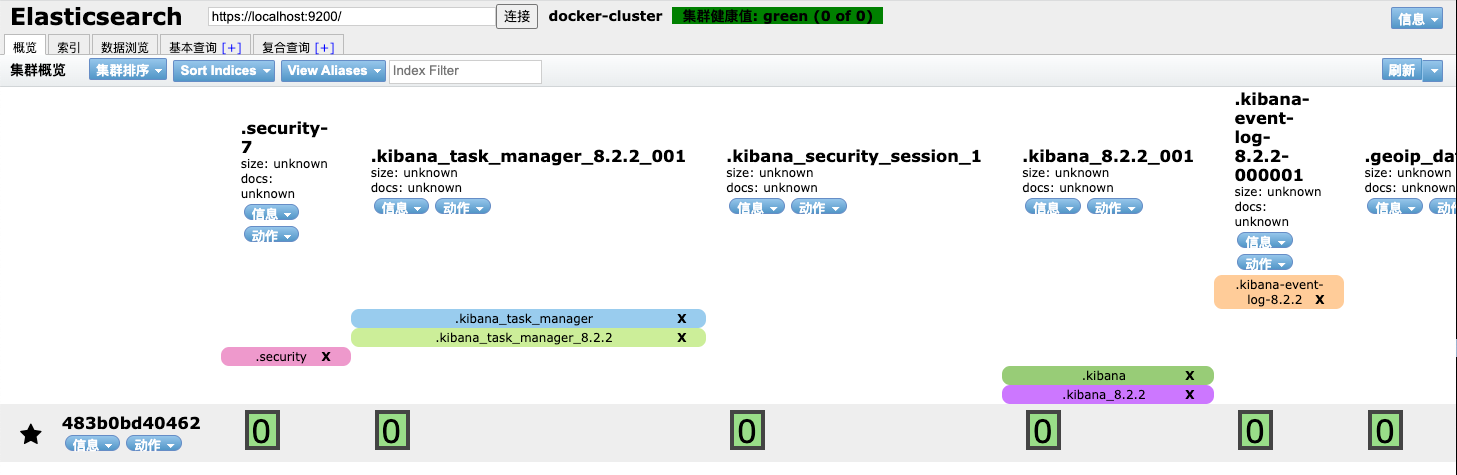
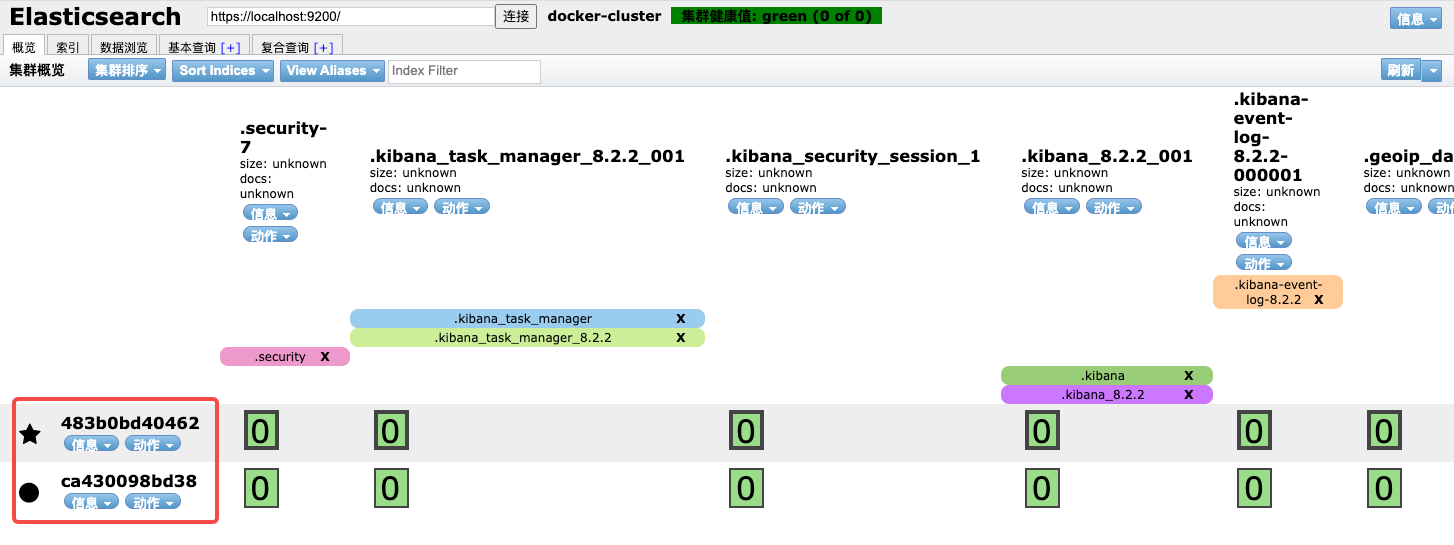
docker exec -it es01 /usr/share/elasticsearch/bin/elasticsearch-create-enrollment-token -s node复制
docker run \ -e ENROLLMENT_TOKEN="xxxxxx" \ -e ES_JAVA_OPTS="-Xms1024m -Xmx1024m" \ --name es02 \ --net elastic \ -idt elasticsearch:8.2.2复制
咱们先用命令行做一些最基本的操作,然后再考虑用kibana
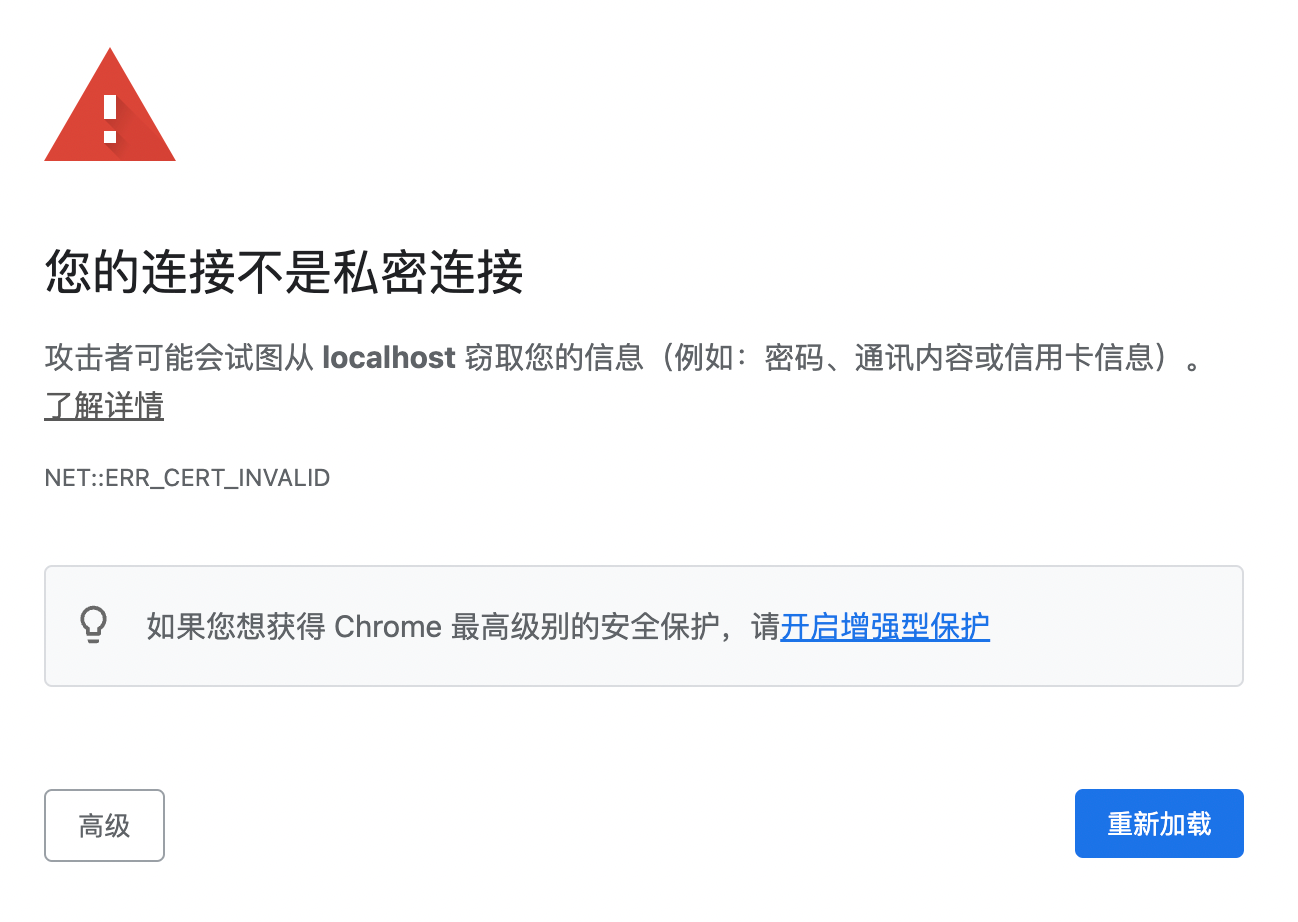
由于es开方的https服务,所以首先把证书从容器中导出来,后面的curl请求都要指定这个证书
docker cp es01:/usr/share/elasticsearch/config/certs/http_ca.crt .复制
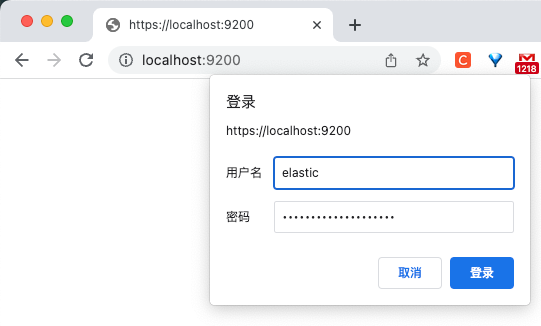
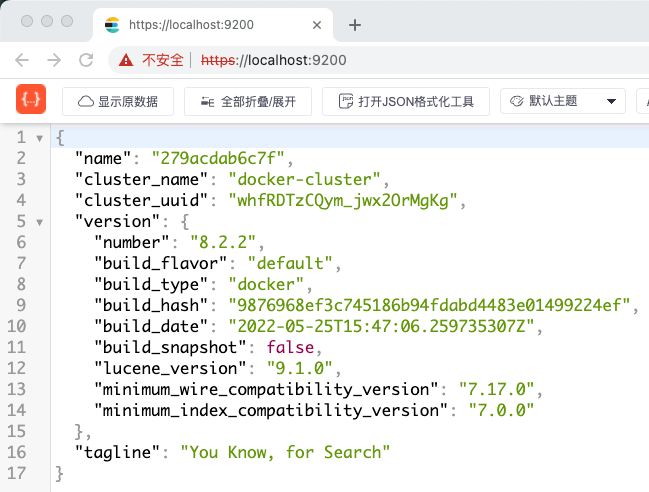
curl --cacert http_ca.crt -u elastic:xxxxxx https://localhost:9200复制
❯ curl --cacert http_ca.crt -u elastic:xxxxxx https://localhost:9200 { "name" : "279acdab6c7f", "cluster_name" : "docker-cluster", "cluster_uuid" : "whfRDTzCQym_jwx2OrMgKg", "version" : { "number" : "8.2.2", "build_flavor" : "default", "build_type" : "docker", "build_hash" : "9876968ef3c745186b94fdabd4483e01499224ef", "build_date" : "2022-05-25T15:47:06.259735307Z", "build_snapshot" : false, "lucene_version" : "9.1.0", "minimum_wire_compatibility_version" : "7.17.0", "minimum_index_compatibility_version" : "7.0.0" }, "tagline" : "You Know, for Search" }复制
curl -X PUT "https://localhost:9200/my-book?pretty" \ --cacert http_ca.crt \ -u elastic:xxxxxx \ -H 'Content-Type: application/json' \ -d' { "settings": { "number_of_shards": 1 }, "mappings": { "properties": { "line_id": { "type": "long" }, "line_number": { "type": "keyword" }, "play_name": { "type": "keyword" }, "speaker": { "type": "keyword" }, "speech_number": { "type": "long" }, "text_entry": { "type": "text" } } } } '复制
{
  "acknowledged" : true,
  "shards_acknowledged" : true,
  "index" : "my-book"
}
复制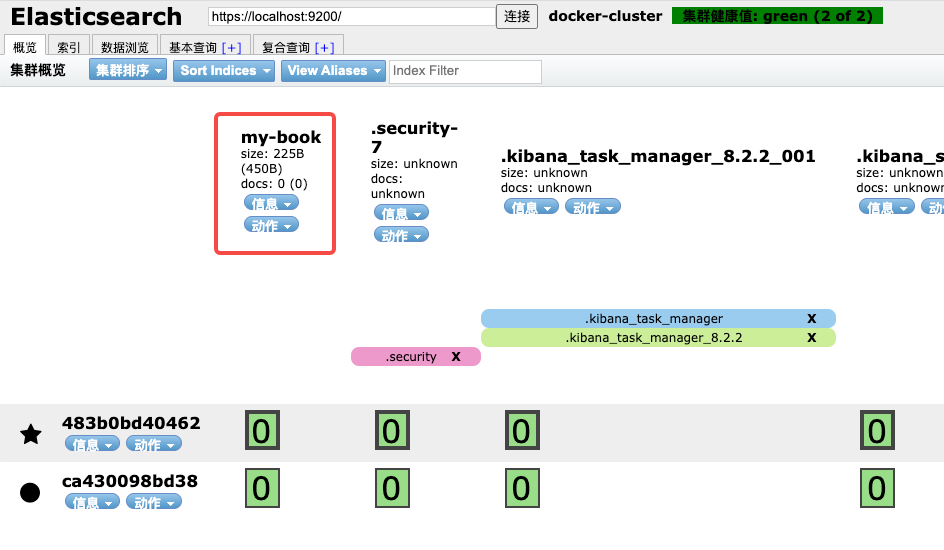
❯ curl -X GET \ https://localhost:9200/my-book\?pretty \ --cacert http_ca.crt \ -u elastic:m9ZRFl9wCIiVkLudRopy { "my-book" : { "aliases" : { }, "mappings" : { "properties" : { "line_id" : { "type" : "long" }, "line_number" : { "type" : "keyword" }, "play_name" : { "type" : "keyword" }, "speaker" : { "type" : "keyword" }, "speech_number" : { "type" : "long" }, "text_entry" : { "type" : "text" } } }, "settings" : { "index" : { "routing" : { "allocation" : { "include" : { "_tier_preference" : "data_content" } } }, "number_of_shards" : "1", "provided_name" : "my-book", "creation_date" : "1653811101586", "number_of_replicas" : "1", "uuid" : "zX8kWS_IQ-ymdI7vYLOjew", "version" : { "created" : "8020299" } } } } }复制
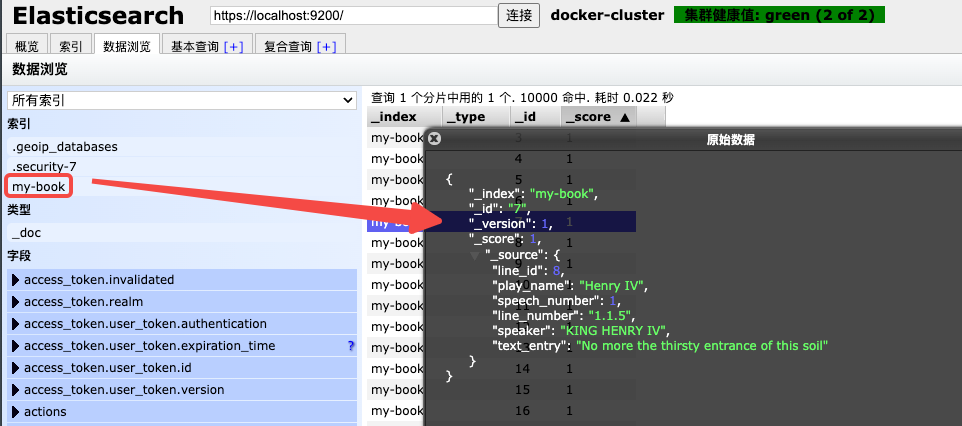
curl -H 'Content-Type: application/x-ndjson' \ --cacert http_ca.crt \ -u elastic:m9ZRFl9wCIiVkLudRopy \ -s -XPOST https://localhost:9200/_bulk \ --data-binary @shakespeare_only_one_type.json复制
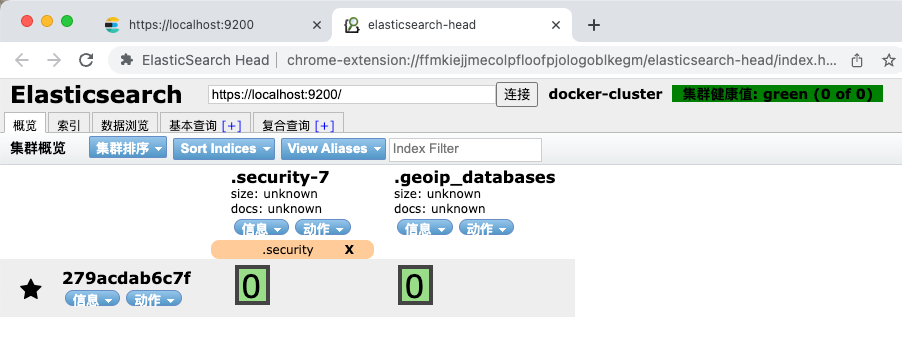
导入成功后,用eshead可以看到每条记录的详细信息
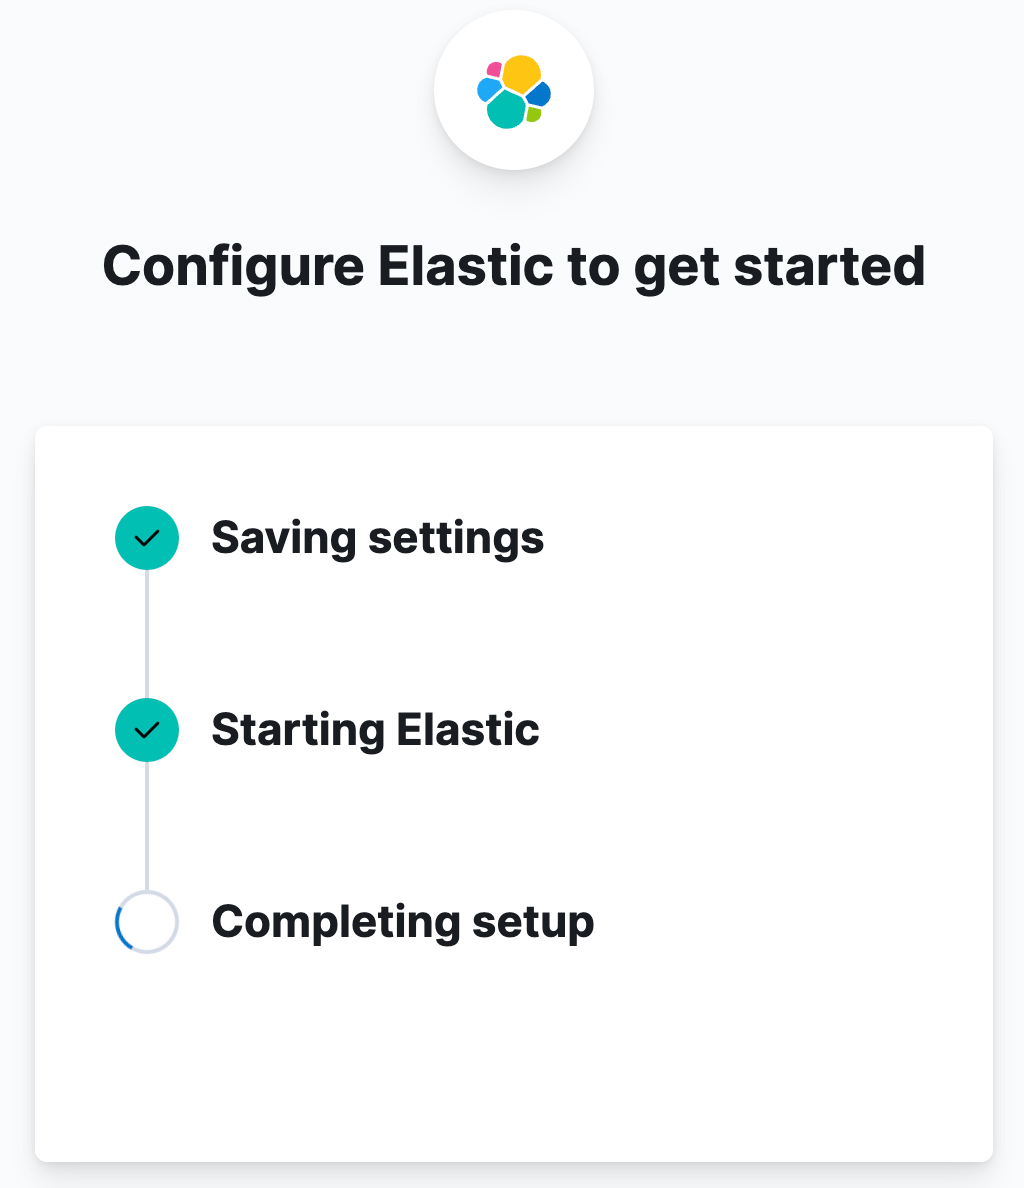
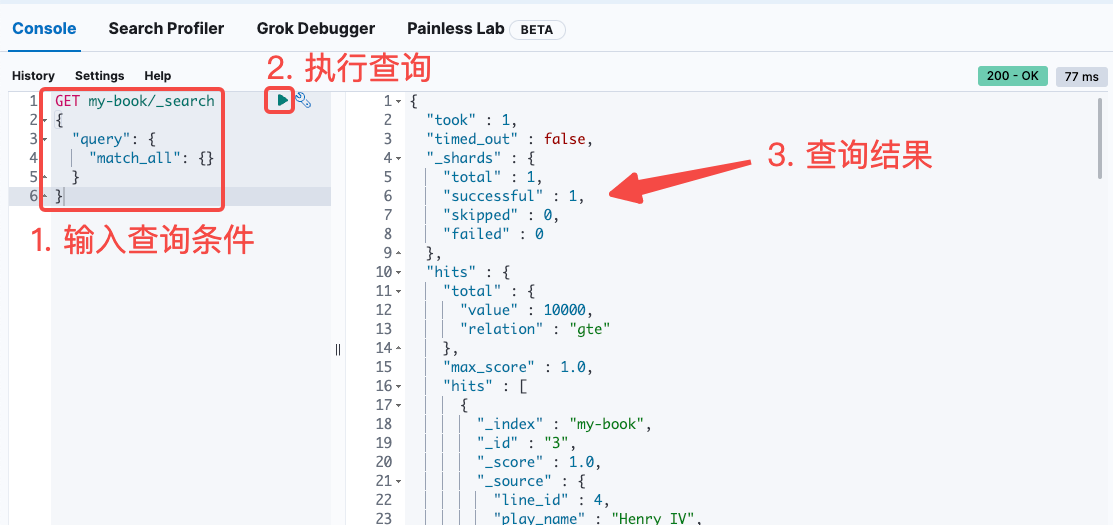
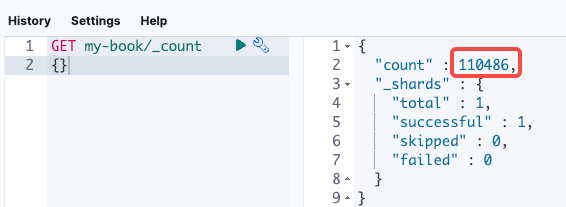
接下来试试kibana
本文通过docker快速部署elasticsearch8版本,再添加一台组成集群,并且部署kibana用于常规查询操作,以及一些常见的es操作