cmake-4学习,参考

(1)先下载cmake(exe)
(2)编译源码文件
# -S表示源文件夹下;-B表示新建一个文件夹build,并将编译结果放在该文件build:【生成】
cmake -S . -B build

# -G 使用nmake,指定编译工具
cmake -S . -B build -G "NMake Makefiles"

# 生成Xcode执行的文件,
cmake -S . -B xcode -G "Xcode"

# 直接打开xcode项目
cmake --open xcode

# --build 执行编译(位置)和make功能一样:【编译】
cmake --build build

# -j:支持多线程编译和和make一样
cmake --build build -j8

# --config 指定编译方式:Release或者Debug
cmake --build build --config Release

# --install 指定安装位置
cmake --install build
复制
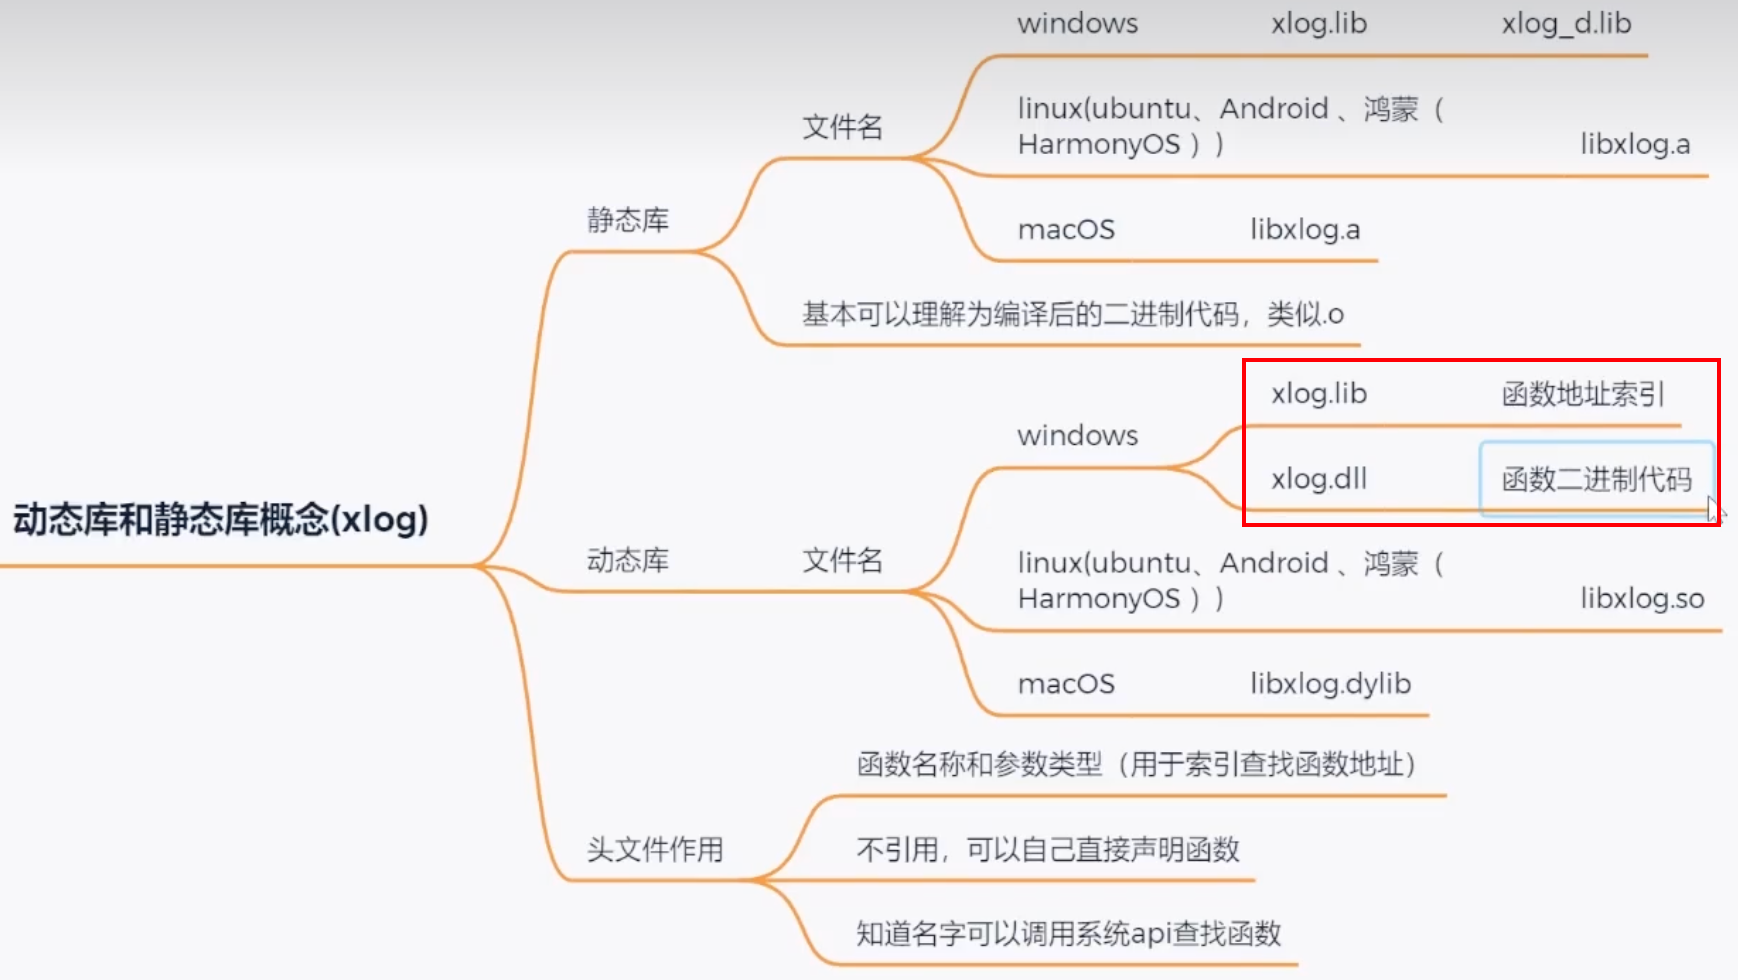
.lib文件:windows
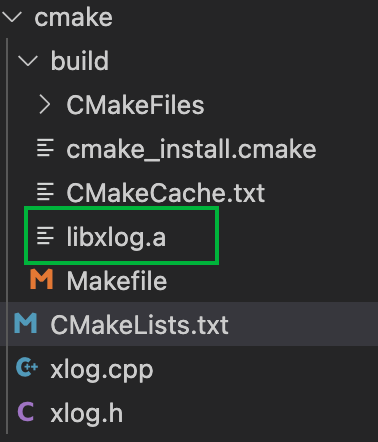
.a文件:linux
举例:linux生成静态库
// xlog.h
#ifndef XLOG
#define XLOG
class xlog
{
public:
    xlog();
};

#endif

// xlog.cpp
#include "xlog.h"
#include <iostream>
using namespace std;

xlog::xlog()
{
    cout << "print xlog" << endl;
}

# CMakeLists.txt
cmake_minimum_required(VERSION 3.20)

project(xlog)
# STATIC:表示生成静态库
add_library(xlog STATIC xlog.cpp xlog.h)
复制
然后执行:
# 生成
cmake -S . -B build
# 编译
cmake --build build
复制
举例:链接静态库
在test_xlog/test_xlog.cpp中链接libxlog.a库
// test_xlog.cpp
#include <iostream>
#include "xlog.h"
using namespace std;

int main()
{
    xlog log;
    cout << "test_xlog" << endl;
    return 0;
}

# CMakeLists.txt
cmake_minimum_required(VERSION 3.20)

project(test_xlog)

#指定头文件查找路径
include_directories("../xlog")

#指定库查找路径
link_directories("../xlog/build")

add_executable(test_xlog test_xlog.cpp)

#指定加载的库【静态库:libxlog.a】
target_link_libraries(test_xlog xlog)
复制.lib文件(函数地址索引)和.dll文件(函数二进制代码):windows
.so文件:linux
.dylib:macOS
举例:生成动态库并链接使用
# CMakeLists.txt
cmake_minimum_required(VERSION 3.20)
project(xlog)

include_directories("xlog")

# 编译生成动态库
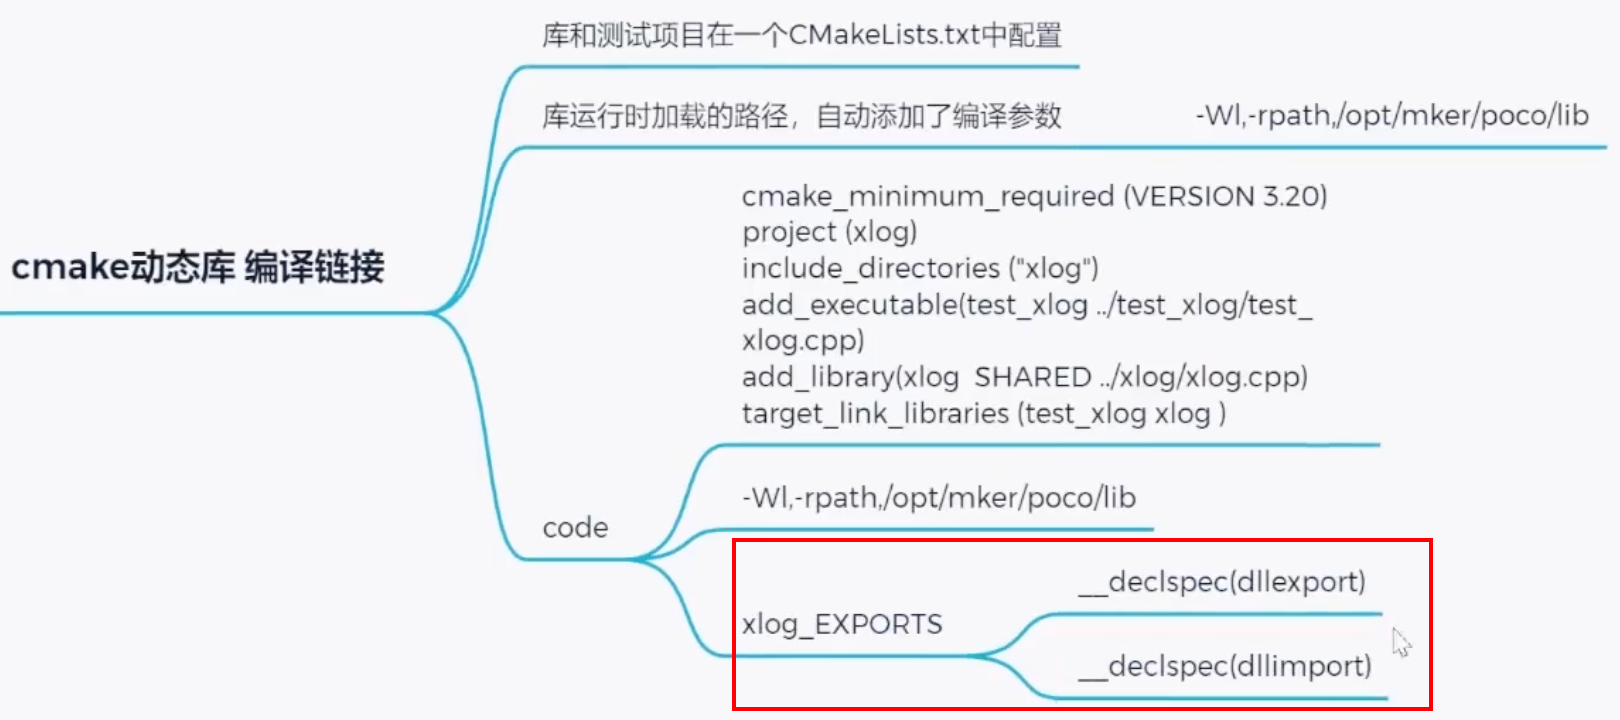
add_library(xlog SHARED xlog/xlog.cpp)

add_executable(test_xlog test_xlog/test_xlog.cpp)
target_link_libraries(test_xlog xlog)
复制
注意:在windows中生成链接动态库时,需要设置一下才能同时生成:.dll和.lib文件,下面是兼容各平台的代码:
// xlog.h
#ifndef XLOG
#define XLOG

#ifndef _WIN32
    #define XCPP_API
#else
    #ifdef xlog_EXPORTS
        #define XCPP_API __declspect(dllexport) //库项目调用
    #else
        #define XCPP_API __declspect(dllimport) //调用库项目调用
    #endif
#endif
class XCPP_API xlog
{
public:
    xlog();
};
#endif
复制